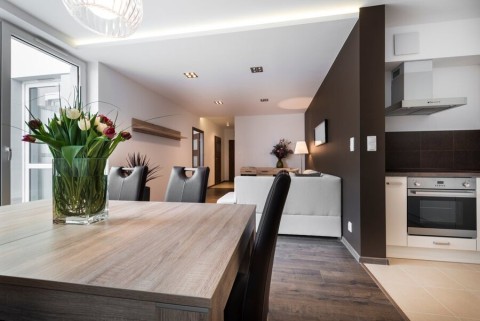
Making your rental property more efficient and guest-friendly is easier than ever with the rise of smart thermostats. These devices allow hosts to control heating and cooling remotely, automate temperature schedules, and even monitor energy usage. For those wondering how to set up smart thermostat in rentals, this guide provides a step-by-step approach tailored for short-term rental owners and managers. Whether you want to reduce energy costs, improve guest comfort, or streamline operations, integrating a smart thermostat can be a practical upgrade.
Before diving into the installation process, it’s important to understand the unique needs of short-term rentals. Unlike traditional homes, these properties require solutions that balance convenience, security, and flexibility for both hosts and guests. For a broader look at automating temperature control, you might also find our resource on automating thermostat for rentals helpful.
Benefits of Installing Smart Thermostats in Rental Properties
Upgrading to a smart thermostat offers several advantages for rental owners. Here are some of the most significant benefits:
- Remote Management: Adjust the temperature from anywhere, ensuring the property is comfortable before guests arrive and energy-efficient when vacant.
- Automated Scheduling: Set heating and cooling routines that match typical check-in and check-out times, reducing manual intervention.
- Energy Savings: Smart thermostats can help lower utility bills by optimizing temperature settings and detecting when the property is unoccupied.
- Enhanced Guest Experience: Guests enjoy a comfortable stay with easy-to-use controls and consistent climate control.
- Maintenance Alerts: Many devices notify you of potential HVAC issues, allowing for proactive maintenance.
These features not only make your property more appealing to guests but also simplify your management tasks as a host.
Choosing the Right Smart Thermostat for Your Rental
Selecting a thermostat that fits your property’s needs is crucial. Here are some factors to consider:
- Compatibility: Ensure the device works with your existing HVAC system. Most modern thermostats are compatible with standard systems, but it’s wise to double-check specifications.
- Ease of Use: Look for models with intuitive interfaces, both for you and your guests. Simple controls reduce confusion and support requests.
- Remote Access: Choose a thermostat that offers a robust mobile app or web portal for remote management.
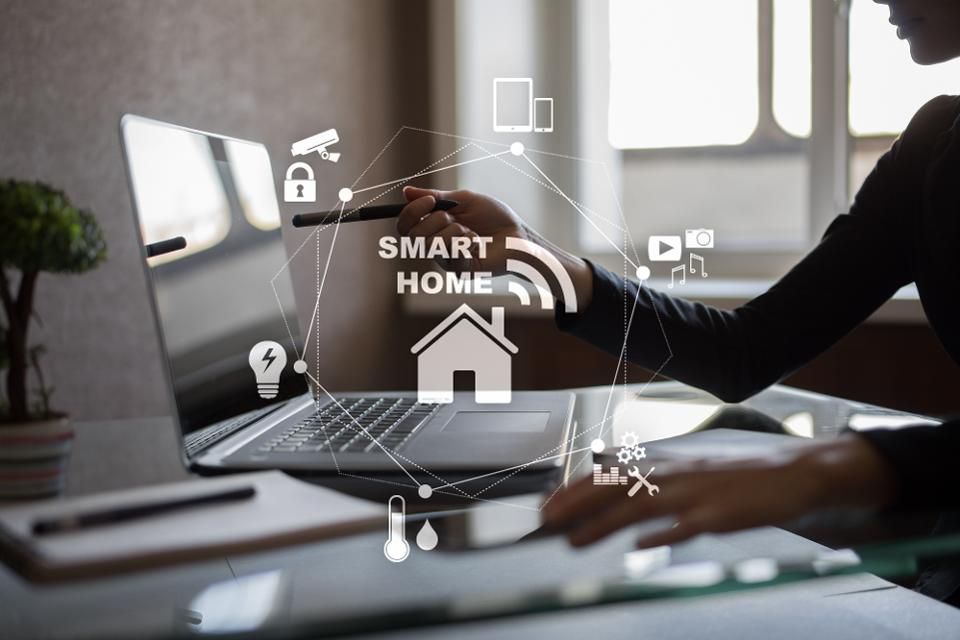
- Integration: If you use other smart devices (like locks or lights), consider a thermostat that integrates with your current ecosystem.
- Security Features: Some models allow you to lock settings or restrict guest access to prevent tampering.
For a detailed comparison and additional tips, check out this comprehensive guide to smart home solutions for renters.
Step-by-Step Guide: How to Set Up Smart Thermostat in Rentals
Setting up a smart thermostat in your short-term rental involves several key steps. Follow this process to ensure a smooth installation and optimal performance.
1. Gather Tools and Materials
Before you begin, make sure you have:
- The smart thermostat and included mounting hardware
- A screwdriver (usually Phillips-head)
- Your Wi-Fi network name and password
- Access to your property’s circuit breaker
- Your smartphone or tablet for app setup
2. Turn Off Power to the HVAC System
Safety first: switch off the power to your heating and cooling system at the circuit breaker. This prevents electrical accidents during installation.
3. Remove the Old Thermostat
Carefully detach the existing thermostat from the wall. Take a photo of the wiring for reference. Label each wire using the stickers provided with your new device or masking tape.
4. Install the New Smart Thermostat
Mount the new base plate to the wall using the provided screws. Connect the wires to the corresponding terminals, referencing your earlier photo and labels. Attach the thermostat display to the base.
5. Restore Power and Configure Settings
Turn the power back on at the breaker. The thermostat should power up and guide you through initial setup, including connecting to Wi-Fi and configuring basic preferences.
6. Download the App and Link Your Device
Download the manufacturer’s app on your smartphone or tablet. Follow the prompts to add your thermostat, connect it to your account, and enable remote access features.
7. Set Schedules and Access Permissions
Program temperature schedules that align with typical guest check-in and check-out times. Many smart thermostats allow you to set “eco” modes for vacant periods. If possible, restrict guest access to advanced settings to prevent accidental changes.

Best Practices for Managing Smart Thermostats in Rentals
Once your device is installed, consider these tips for ongoing management:
- Regularly Monitor Usage: Use your app to check temperature settings and energy reports, especially after guest stays.
- Educate Guests: Leave simple instructions near the thermostat or in your welcome guide. Highlight basic controls and how to return to default settings.
- Integrate with Other Smart Devices: For seamless automation, connect your thermostat with smart locks or lighting. Our article on automating lights in STR offers more ideas.
- Secure Your Device: Use PIN codes or app restrictions to prevent unauthorized changes to schedules or settings.
- Stay Updated: Keep your thermostat’s firmware and app up to date for the latest features and security patches.
Common Challenges and Solutions
While most installations are straightforward, you may encounter some issues:
- Wi-Fi Connectivity: Ensure your property has a strong, reliable Wi-Fi signal near the thermostat. Consider a mesh network or Wi-Fi extender if needed.
- Compatibility Issues: If your HVAC system is older or uses high-voltage wiring, consult a professional or check the manufacturer’s compatibility guide.
- Guest Tampering: Use lockout features to prevent guests from making permanent changes. Reset to your preferred settings between stays.
- Power Loss: Some smart thermostats require a C-wire for continuous power. If your system lacks this, look for models with power adapters or battery backup.
FAQ
Can guests control the smart thermostat during their stay?
Yes, most devices allow guests to adjust the temperature within a set range. As a host, you can limit access to advanced settings or lock certain features to maintain control over energy usage.
Is professional installation required for smart thermostats?
Many models are designed for DIY installation and include clear instructions. However, if your HVAC system is complex or you’re unsure about wiring, hiring a professional is recommended for safety and optimal performance.
How can I automate temperature settings for check-in and check-out?
Most smart thermostats let you create custom schedules or use geofencing to adjust temperatures automatically. You can also integrate your device with property management systems or other smart home tools for more advanced automation.
Conclusion
Upgrading your rental property with a smart thermostat is a practical way to boost efficiency, comfort, and guest satisfaction. By following the steps outlined above and adopting best practices, you can enjoy the benefits of modern climate control while minimizing hassles. For more ideas on automating your rental, explore our resources on how to automate check-in and home automation for security. With the right setup, you’ll streamline operations and create a more appealing experience for every guest.